Setting up a passkey on your personal Google account is a great way to add an extra layer of security. Here are the steps to follow:
- Go to the Google sign-in page and sign in to your account.
- Click on your profile picture or initial icon in the top-right corner of the screen.
- Select “Manage your Google Account” from the drop-down menu.
- In the left-hand menu, click on “Security.”
- Scroll down to the “Ways we can verify it’s you” section and click on “Add a recovery option.”
- Choose “Enter a phone number” or “Enter an email address” as your recovery option and follow the prompts to add it to your account.
- Scroll back up to the “Signing in to Google” section and click on “Password.”
- Enter your current password to confirm your identity.
- On the next screen, click on “Turn on” under the “Use your phone to sign in” section.
- Follow the prompts to set up a passkey, which is a four-digit number that you’ll use to sign in on your phone.
- Once you’ve set up your passkey, click “Done” to save your changes.
Google Latest Feature: Log In Without a Password Using Passkeys
Google has recently introduced a new feature that allows users to log in to their accounts without a password by using passkeys. This can help increase the security of your Google account while providing a convenient way to authenticate yourself without having to remember a password. In this article, we will explore how you can create a passkey to secure your Google account and log in without using a password.
Google Sees a Future Without Passwords, Introduces Passkeys for Google Accounts
In the run-up to World Password Day on May 6th, Google has announced a major update: the introduction of passkeys for Google accounts. Passkeys (or access keys) can be used to log in to a Google account without a password, relying instead on biometric data (such as fingerprints or facial recognition) or the device’s screen lock PIN. They offer a more secure alternative to traditional passwords or two-factor authentication, which can be vulnerable to phishing and other scams. Passkeys are not stored by Google and remain only on the device they were created on.
Google had previously integrated passkeys into Chrome, but now they are available on iPhone (with iOS 16 or later) and Android smartphones (with Android 9 or later). Passkeys can also be shared across devices using iCloud or a password manager.
It’s worth noting that passkeys are based on the FIDO standard, supported and integrated by Google, Apple, and Microsoft. This makes them functional across different operating systems, web browsers, and websites. With passkeys, you can authenticate yourself using your biometric data or device PIN, making logging in to your Google account easier and more secure.
How to Set Up a Passkey for Your Google Account?
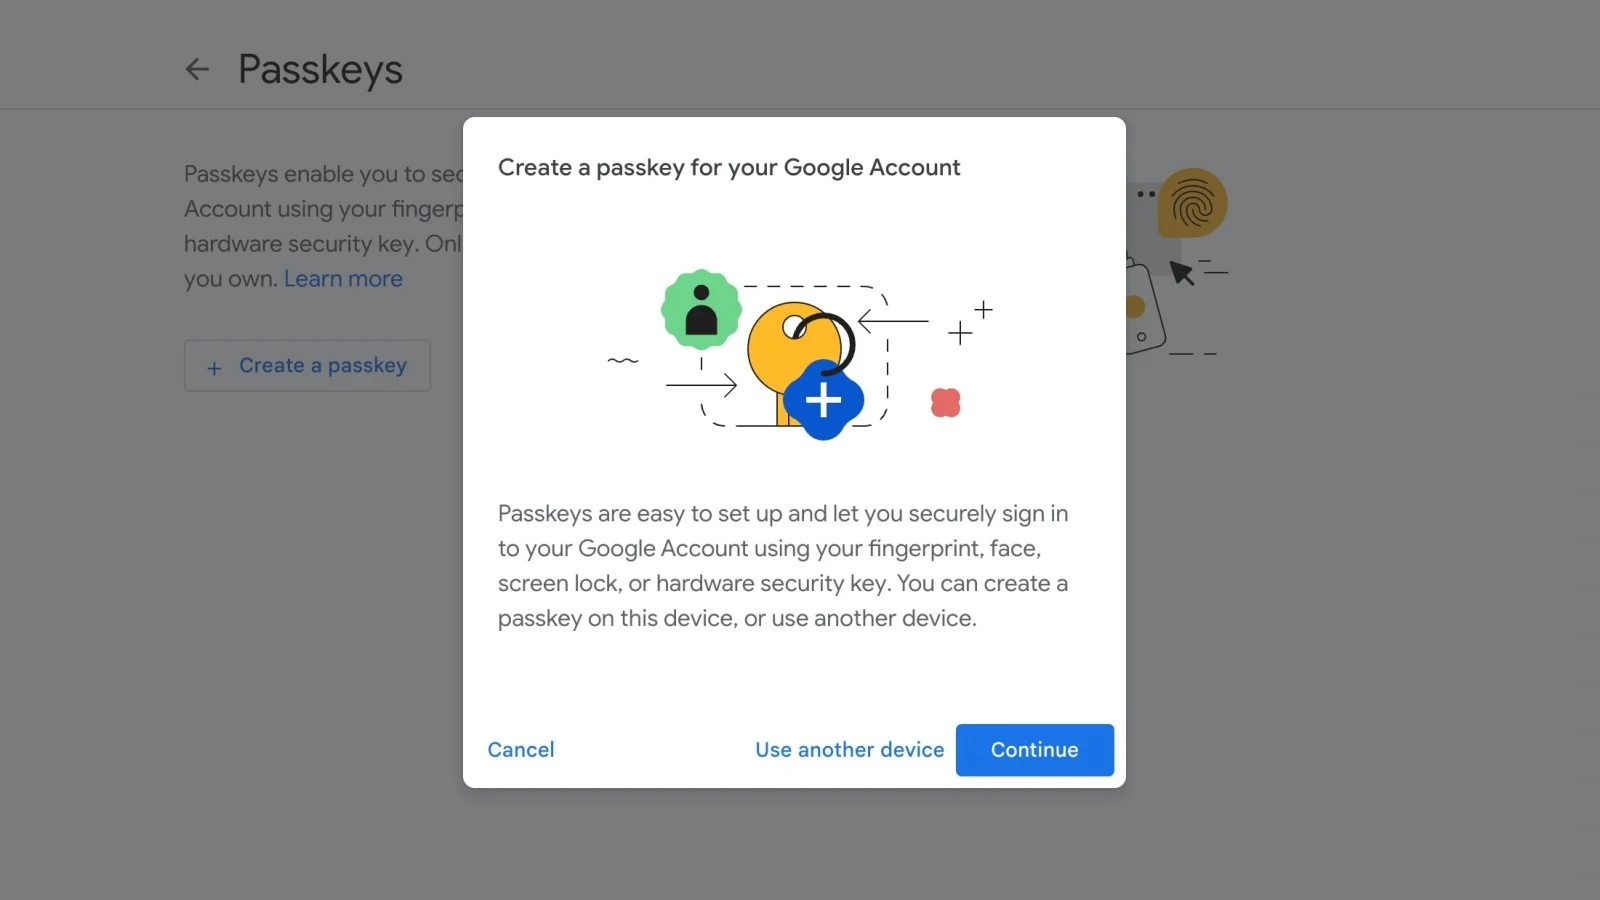
Setting up a passkey as a means of logging into your Google account is easy. Here’s how you can do it:
- Go to g.co/passkeys and enter your login credentials (the email address of the account in question and the traditional password).
- A Passkeys page appears, click on the “Create a passkey” button.
- In the tab that opens, press “Continue” twice.
- Authenticate yourself using facial recognition, fingerprint, or device PIN.
- Press OK to confirm the creation of the passkey.
Note: If you created a passkey from your mobile device and want to log in to your Google account from a computer, you can do so. After entering your email address to log in, click on “Try another method,” then “Use a passkey.” In the tab that opens, select “Use a phone or tablet,” and scan the QR code that appears with your mobile device. You can then authenticate yourself using your biometric data or PIN.
With this new method of authentication, you no longer need to remember long, complicated passwords. And who knows, May 6th may mark the last World Password Day?


