Are you tired of using only web-based email? Do you want to manage your emails directly on your devices? This guide will show you how to activate POP3 in your Hostinger Webmail. It will help you take control of your email experience.
Key Takeaways
- Hostinger offers both free and premium email solutions, catering to personal and business needs.
- POP3 protocol allows you to download emails to your local device, providing more control and flexibility.
- Configuring POP3 settings in Hostinger Webmail is a straightforward process with specific server details.
- Understand the differences between POP3 and IMAP to choose the email protocol that best suits your preferences and requirements.
- Manage your email storage and backup effectively when using the POP3 protocol.
Understanding Hostinger Email Services and Protocols
Hostinger is a top web hosting company. It offers many email solutions for its users. These include free email accounts and Google Workspace for businesses. The core of these services are the communication protocols that make sending emails easy.
Types of Hostinger Email Solutions
Hostinger has several email options:
- Free email accounts with domain-based addresses
- Google Workspace integration for advanced business email features at $6/month
- Customizable email accounts tailored to specific domain requirements
Basic Email Protocol Concepts
Hostinger uses IMAP and POP3 for its email services. These protocols help users manage their emails:
- IMAP lets users sync emails across devices, so they can access them anywhere.
- POP3 downloads emails to one device, making it easier to manage offline.
Security Considerations for Hostinger Email
Hostinger makes sure its email services are secure. It uses SSL/TLS encryption for both IMAP and POP3. This adds extra protection for emails. Hostinger also has advanced phishing protection to keep emails safe from hackers.
Choosing between IMAP and POP3 depends on what you need. IMAP is good for accessing emails from many devices. POP3 is better for those who like to manage emails offline.
| Feature | IMAP | POP3 |
|---|---|---|
| Email Synchronization | ✓ | – |
| Offline Access | – | ✓ |
| Server Storage Usage | High | Low |
| Setup Complexity | Medium | Low |
| Recommended Use | Multiple Devices | Single Device |
Benefits of Using POP3 with Hostinger Webmail
If you use Hostinger webmail, POP3 (Post Office Protocol version 3) has many benefits. It’s great for those who mainly check emails on one device. It also keeps emails on your device, not in the cloud.
One big plus of POP3 is that you can read emails offline. Your emails are saved on your device. This is super helpful when you’re away from the internet.
POP3 also makes getting emails faster. Since emails are on your device, you can get to them quicker. This is a big help if you get lots of emails.
Another good thing about POP3 is it helps save server space. When you use POP3, emails are deleted from the server. This is great for keeping your email storage small.
POP3 also offers better privacy than IMAP. Emails aren’t kept on the server for long. This is good for keeping your emails safe and private.
In summary, POP3 is a good choice for Hostinger webmail users. It’s great for offline access, quick email checks, saving server space, and keeping emails private. Knowing these benefits can help you choose the best email protocol for you.
Essential Server Settings for POP3 Configuration
Setting up your Hostinger webmail with POP3 is important. Hostinger provides a reliable email solution. Knowing the right settings is key for easy email management.
POP3 Server Details and Ports
To use POP3 for your Hostinger emails, you need to know a few things:
- POP3 Server: pop.hostinger.com
- POP3 Port: 995 (with SSL/TLS encryption)
These settings help keep your emails safe. They ensure your emails are securely downloaded to your device.
SMTP Configuration Requirements
You also need to set up your SMTP server for Hostinger webmail:
- SMTP Server: smtp.hostinger.com
- SMTP Ports: 465 (with SSL encryption) or 587 (with TLS/STARTTLS encryption)
- Username: Your full Hostinger email address
- Password: Your Hostinger account password
Correct SMTP settings let you send emails without trouble from your Hostinger webmail.
SSL/TLS Security Settings
Using SSL/TLS encryption is a good idea. It keeps your emails safe and stops unauthorized access to your account.
“Configuring your Hostinger webmail with the right POP3 and SMTP settings is essential for a secure and efficient email experience.”
How to Activate POP3 in Hostinger Webmail
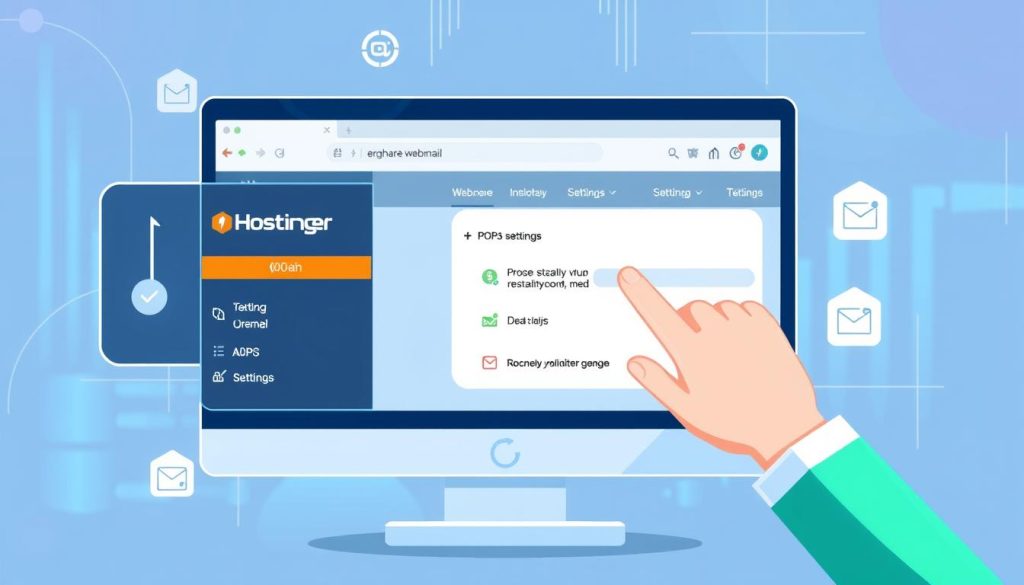
Turning on POP3 (Post Office Protocol version 3) in your Hostinger webmail is easy. It makes managing your emails better. POP3 lets you get emails from Hostinger to your own email client. This gives you more control over your emails.
Start by logging into your Hostinger hPanel. This is the control panel for your Hostinger services. Go to the “Emails” section, pick your domain, and then “Manage.” In your email account settings, you can turn on POP3 access. If you don’t have an email account, you might need to make one or change an existing one to use POP3.
After turning on POP3, save your changes. Also, write down the POP3 server details. You’ll need these to set up your email client to use POP3 with Hostinger webmail.
By activating POP3 in Hostinger webmail, you get many benefits:
- It makes managing your emails better by downloading them to your device.
- You can check your emails offline, even without internet.
- You have more control over your email storage and backups.
- It works well with popular email clients like Microsoft Outlook and Apple Mail.
The steps might change a bit based on your email client. But the main steps to enable POP3 in Hostinger webmail stay the same. By following these steps, you can activate POP3 in Hostinger webmail and have a better email experience.
Configuring Email Clients with POP3 Settings
Setting up your email client with Hostinger’s POP3 settings is easy. It works the same for desktop apps and mobile devices. Let’s look at the steps.
Desktop Email Client Setup
To set up a desktop email client like Thunderbird or Outlook, add a new account. You’ll need to enter the POP3 server details manually. This includes the incoming and outgoing mail servers and your login info.
Make sure to check the server settings, ports, and security protocols. This ensures a good connection.
Mobile Device Configuration
Setting up your Hostinger email on mobile devices is simple. You can use the built-in email app or download a third-party client. Just enter your email address, POP3 server details, and authentication info.
Troubleshooting Common Issues
Having trouble setting up? Check a few common issues. Make sure you have the right server details, including port numbers and security settings. Also, verify your internet connection and firewall settings.
Hostinger’s email hosting service supports POP3 well. This makes it easy to connect your email accounts with your preferred clients. By following these steps, you can configure pop3 hostinger email and hostinger email client pop3 settings smoothly. This ensures a great email experience.
POP3 vs IMAP: Making the Right Choice
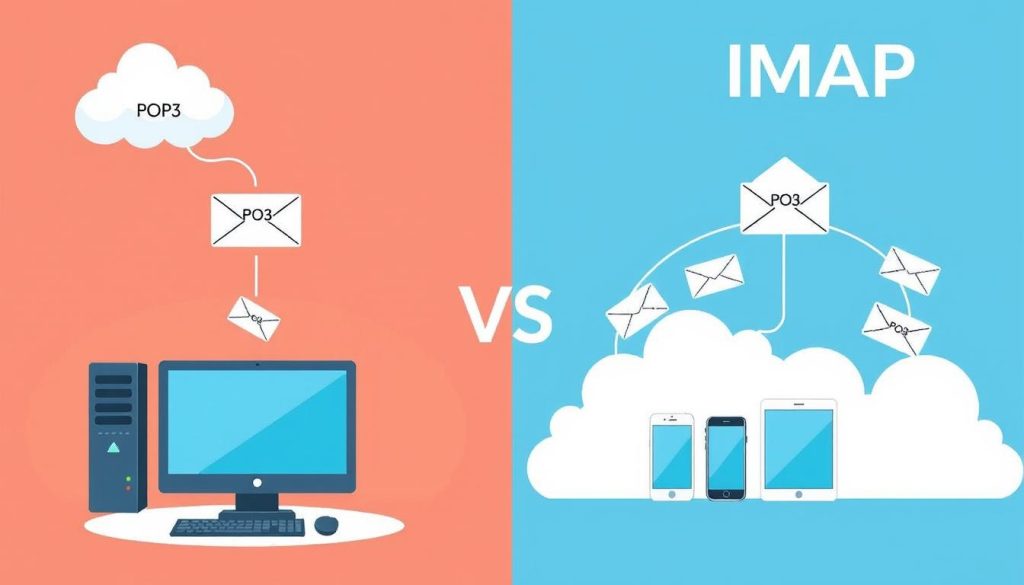
Choosing between POP3 and IMAP can greatly affect how you manage your Hostinger email. It’s important to know the differences between these two protocols. This knowledge helps you pick the best option for your needs.
POP3 is great for those who use only one device to check their email. It downloads messages to your device, allowing you to manage them offline. But, if you use multiple devices, POP3 might not be the best choice. This is because messages are stored locally and not synced across devices.
IMAP, on the other hand, is perfect for users who check their email from different devices. It keeps messages on the server, so you can access them from anywhere. This makes it ideal for those with multiple devices or who need constant email access.
| Feature | POP3 | IMAP |
|---|---|---|
| Storage Location | Local Device | Email Server |
| Offline Access | Yes | Limited |
| Synchronization | No | Yes |
| Device Flexibility | Single Device | Multiple Devices |
When deciding between hostinger webmail pop3 access and hostinger pop3 settings, think about your needs. If you like offline access and don’t need to sync across devices, POP3 might be better. But, if you use many devices and want your emails to be always available, IMAP is the way to go.
“Choosing the right email protocol is crucial for managing your Hostinger email effectively. POP3 and IMAP offer different advantages, so it’s important to consider your specific needs and preferences.”
Hostinger’s email services are set up for IMAP to offer a smooth and reliable experience. Knowing the benefits of both POP3 and IMAP helps you make a choice that fits your email needs. This way, you can get the most out of your Hostinger webmail.
Managing Email Storage and Backup with POP3
Using Hostinger’s email client with POP3 means you need to manage your email storage and backups well. Backing up your emails regularly is key to avoid losing important messages. It also helps keep your emails safe for a long time.
Local Storage Considerations
Since POP3 emails are stored locally, keeping an eye on your storage is vital. Use features like Outlook’s AutoArchive to move old emails to an archive. This keeps your main mailbox smaller. Also, look into tools like Mailstore Home for better email backup control.
Backup Strategies for POP3 Users
Backing up your Hostinger emails is crucial. Hostinger supports several file formats for backups, like EML, Mbox, and Maildir. These can be imported into many email clients. Tools like Zook Email Backup Software and Google Takeout also help export emails in various formats.
Outlook users can export emails, contacts, and calendar events using PST files. But, remember PST files have a 50 GB size limit. You might need to split your backups. Tools like the Yota Email Backup Tool can help Hostinger Mail users back up emails with attachments.
By following these storage and backup tips, you can keep your Hostinger email data safe. This protects your important messages and makes it easier to move emails if needed.
Optimizing Your Hostinger Email Experience
As a Hostinger webmail user, you can make your email experience better. Start by regularly updating your email client software. This ensures you get the latest security and performance updates.
Using a dedicated email client is a good idea. But, Hostinger’s webmail interface is also a great backup. It lets you manage your emails and settings from any browser. This is handy when you’re away from your main device.
Keeping your email account secure is key. Use strong passwords and consider two-factor authentication. These steps protect your hostinger webmail setup and keep your messages safe.
If you run into problems, Hostinger’s support team is here to help. They offer detailed guidance on your hostinger pop3 server details. They aim to make your email experience smooth and secure.
“At Hostinger, we’re committed to empowering our users with the tools and knowledge they need to manage their email effectively and efficiently.”
Conclusion
Activating POP3 in Hostinger Webmail lets you manage your emails offline. This guide shows you how to set up POP3 with your Hostinger email. It makes your email management better.
Using Hostinger’s email services with POP3 gives you control over your email. You can choose between local storage or online access. This guide helps you set up your Hostinger webmail for the best performance.
Choosing between POP3 and IMAP depends on your email needs. Knowing the differences helps you decide what’s best for you. With Hostinger’s email solutions and this guide, you can use POP3 in Hostinger Webmail. This boosts your email productivity and efficiency.
FAQ
What email solutions does Hostinger offer?
Hostinger provides free email services with web hosting plans starting at .49/month. They also offer premium options like Google Workspace and business email solutions.
What are the different email protocols and their benefits?
Email protocols like IMAP, POP3, and SMTP are key for sending and getting messages. IMAP keeps emails on the server, while POP3 downloads them to your device. POP3 is great for offline access and faster email retrieval.
What are the POP3 server settings for Hostinger?
For Hostinger, the POP3 server details are: POP3 server: pop.hostinger.com, Port: 995, Security: SSL. SMTP server: smtp.hostinger.com, Ports: 465 (SSL) or 587 (TLS/STARTTLS). Your username is your full email address, and your Hostinger account password is your password.
How do I activate POP3 in Hostinger Webmail?
First, log into Hostinger hPanel. Then, go to the Emails section, pick your domain, and click Manage. In the email account settings, turn on POP3 access. You might need to create or change an email account if it’s not set up.
How do I configure my email client for POP3?
For desktop clients like Thunderbird or Outlook, create a new account and enter the POP3 settings manually. On mobile devices, use the built-in email app or download a third-party client.
When should I use POP3 vs IMAP?
Use POP3 if you only use one device and need offline access. IMAP is better for syncing across multiple devices. Think about your storage needs, internet, and device use when picking between POP3 and IMAP for your Hostinger email.
How do I manage email storage and backup with POP3?
POP3 users should back up their local email files often to avoid losing data. Use email client features or third-party backup solutions. Manage storage by archiving old emails or using compression tools. Set up email retention policies to balance storage and data preservation.
Source Links
- Optimize Your Hostinger Email Experience: How to Access and Use Your Mailbox – https://www.hostinger.com/tutorials/how-to-use-hostinger-email
- Hostinger Imap Settings: Easily Set Up Your Email Address – https://www.mailjerry.com/hostinger-imap-settings/
- IMAP vs POP3: A comprehensive guide to email protocols – https://www.hostinger.com/tutorials/pop3-vs-imap
- How to Create an Email Account for Professional Use and Set Up a Mail Client – https://www.hostinger.com/tutorials/how-to-create-an-email
- How to Activate POP3 in Hostinger Webmail: A Step-by-Step Guide – https://scientificasia.net/how-to-activate-pop3-in-hostinger-webmail/
- How to Set Up Outlook: Setting Up Email on Microsoft Outlook 2019, 2016, and More – https://www.hostinger.com/tutorials/how-to-set-up-outlook
- Hostinger Email – Setup, Pricing, and Plans: A Comprehensive Guide – https://www.neo.space/blog/hostinger-email
- How to Configure Hostinger Mail in Outlook: Step-by-Step Guide – https://medium.com/@shamiur_rahman/how-to-configure-hostinger-mail-in-outlook-step-by-step-guide-96144c9dc452
- How to Use Hostinger Email in Outlook: Simple Setup Guide – https://medium.com/@shamiur_rahman/how-to-use-hostinger-email-in-outlook-simple-setup-guide-58f5505955cf
- How to Set up Email on Android: A Step-by-Step Guide – https://www.hostinger.com/tutorials/how-to-set-up-email-on-android
- How to Add an Email Account on Mac to Send and Receive Emails in Apple Mail – https://www.hostinger.com/tutorials/how-to-add-email-account-to-mac-mail
- How to Set Up Email on iPhone in 2024: Adding Another Email Account to the Mail App – https://www.hostinger.com/tutorials/how-to-setup-email-on-ios/
- How to Back Up Your Emails in 2024: Gmail, Outlook, Thunderbird, Yahoo, Mac, and Hostinger – https://www.hostinger.com/tutorials/how-to-backup-your-emails
- Hostinger Email Backup to Computer [Updated 2024] – https://yotasoftware.com/blogs/hostinger-email-backup-free/
- Host Your Own Email Server: How to Set Up a Self-Hosted Email Service in 2024 – https://www.hostinger.com/tutorials/how-to-host-your-own-email-server-on-a-vps-with-cyberpanel
- How to Use Gmail with Custom Domain: Using POP3 and Forwarders – https://www.hostinger.com/tutorials/email/how-to-set-up-gmail-for-your-own-domain
